


to Scrap Girls
 Everything you need for digital scrapbooking is right here! We also specialize in commercial use digital graphics for photography, web design and crafty businesses. Our Shop is filled with a huge catalog of beautiful, high-quality digital designs to match your creative needs.
If you are just getting started with Photoshop, we can teach you how to advance your skills with free tutorials and video classes. Sign up for our newsletter for special offers, inspiring layouts, and a freebie in every issue. No matter how long you have been involved with digital scrapbooking and graphic design, we’ll always give you new ideas to try and products to inspire them.
Sign up for our FREE newsletter!
Latest from the Blog
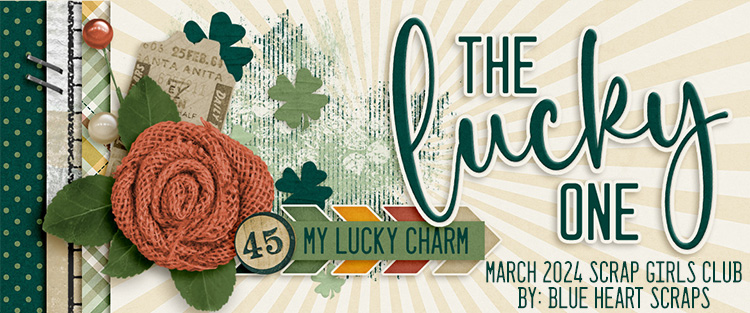
Our March Scrap Girls Club: The Lucky One has been in the spotlight for several weeks now -- and if you haven't slowed down long enough to enjoy the details, now is your time. JoyLynn of Blue Heart Scraps is our featured designer this month, and she imagined…
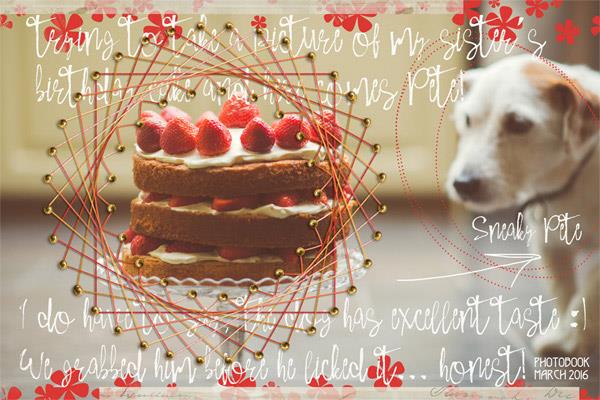
What's not to love about March? It brings the promise of spring, fresh breezes that occasionally carry a whiff of something alive and growing, and more sunshine than you've seen in months! Likewise, what's not to love about March's Take 3 feature which showcases the Project Keepsake: March by Bekah E Designs? With its…
The February 2024 ScrapSimple Club: All the Pretty Roses has received a fabulous reception for the past few weeks, but at this price, this club won't last forever! Tami Miller Designs is our spotlight designer -- and as always, Tami brings creativity, beauty, and incredible options to her newest kit! Tami designed this kit to be…
The SG Guarantee
We can help!
Everything current we can resend!
We’ll refund it!