
Our ScrapSimple line at Scrap Girls is one of the first products I was drawn to, and I think it’s safe to say that it’s the type of product I design most often! I love the limitless possibilities that ScrapSimple templates offer, and it’s amazing how easy they are to use once you get the hang of it!
Today, I am going to show you three different ways to color paper templates in Photoshop Elements (PSE).
Technique #1:
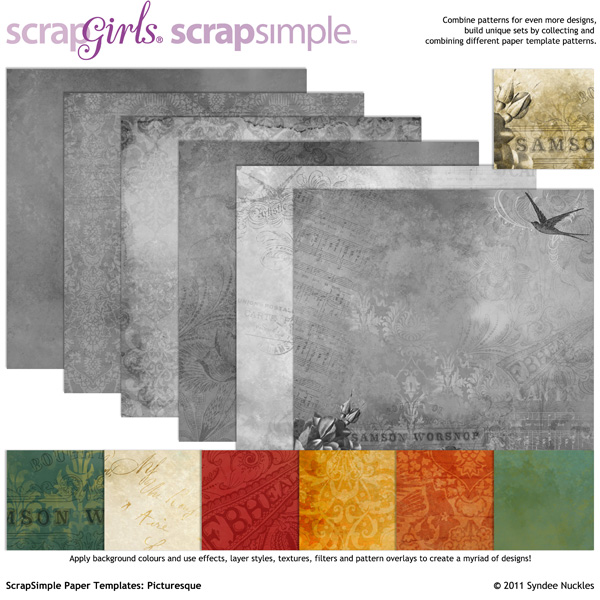
Let’s get started by opening up a paper template; I am using one called Ornate from ScrapSimple Paper Templates: Picturesque. Make a duplicate copy and close the original. This is a good practice anytime you use any kind of template so that you always keep your original intact.

Click on the “Create New Layer” icon at the bottom of your Layers Palette.
Now, double-click on the Color Picker in your Tools Menu and select a color for your paper.
Next, select the Paint Bucket in your Tools Menu and fill your blank layer with your chosen color.
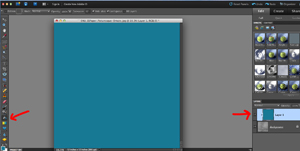
Now, we want to “clip” the color layer to the template layer using a “clipping mask.” Go up to your Layer menu at the top of your screen and scroll down to “Create Clipping Mask.” Or you can hit Cmd+G (Mac) or Ctrl+G( PC).
Now, to have the texture of the paper template show through we need to play with our Blending Modes. Click on the little down arrow as shown below and scroll down through your Blending Modes until you like the results. I have chosen the “Overlay” mode for my paper. I use “Overlay” and “Multiply” most often.
Look how pretty that looks and how few steps that took!

This is an example of the effect that the “Multiply” mode has; it’s a richer color with more subtle detail.

Technique #2
Now, let’s move on to the second technique for coloring paper templates.
Open up a paper template and make a duplicate like we did for the first technique. I am using the same template as before.
Click on the “Enhance” menu bottom at the top of your PSE screen and scroll down to “Adjust Color” and then select “Adjust Hue/Saturation.”

Next, the Hue/Saturation dialog box will open up. Click on the “Colorize” box on the bottom right. Now for the fun part! You can adjust the color using the sliders in the Hue/Saturation dialog box. You can come up with some great colors just by playing!

Technique #3:
Let’s move on to our third and final technique for coloring paper templates. This time I am using a paper template that is transparent so the background layer will show through.
Open up your template and make a duplicate copy.
Next, click on your Layer menu at the top of your screen and scroll down to “New Fill Layer” and select “Solid Color.”

The color picker dialog box will pop open, so choose a color for your background. You will now have a new color fill layer; make sure this new layer is under your template layer.

Now, we want to create another fill layer like we did above and then choose a complimentary color. Make sure this layer is above your template layer. Notice how the green background color shows through the paper template?

One of the reasons I like using the New Fill Layer method is the ease of changing colors. Just click on the little color thumbnail and the Color Picker dialog box will pop up and you can choose a new color.

I hope this has shown you how easy and fun it can be to color paper templates in Photoshop Elements. Happy paper creating!
![]()
Digital Scrapbooking Product Used:
![]()

Tutorial written by Syndee Nuckles


